

🧵 Easy Kids Sewing Tutorial
How to Make a Simple Kids Apron (Beginner Friendly)
This is PERFECT for your Little Designers Studio 💕 — easy, safe, and great for ages 6+ (with supervision).
✂️ MATERIAL LIST
-
1 piece cotton fabric (18” x 22”) – main apron body
-
2 fabric strips (3” x 18”) – waist ties
-
1 fabric strip (3” x 16”) – neck strap
-
Scissors
-
Measuring tape or ruler
-
Pins or clips
-
Sewing machine (or hand sewing needle)
-
Thread
-
Iron (optional but helpful)
Cotton works best because it’s easy to sew and not slippery.
📐 STEP 1: CUT YOUR PATTERN
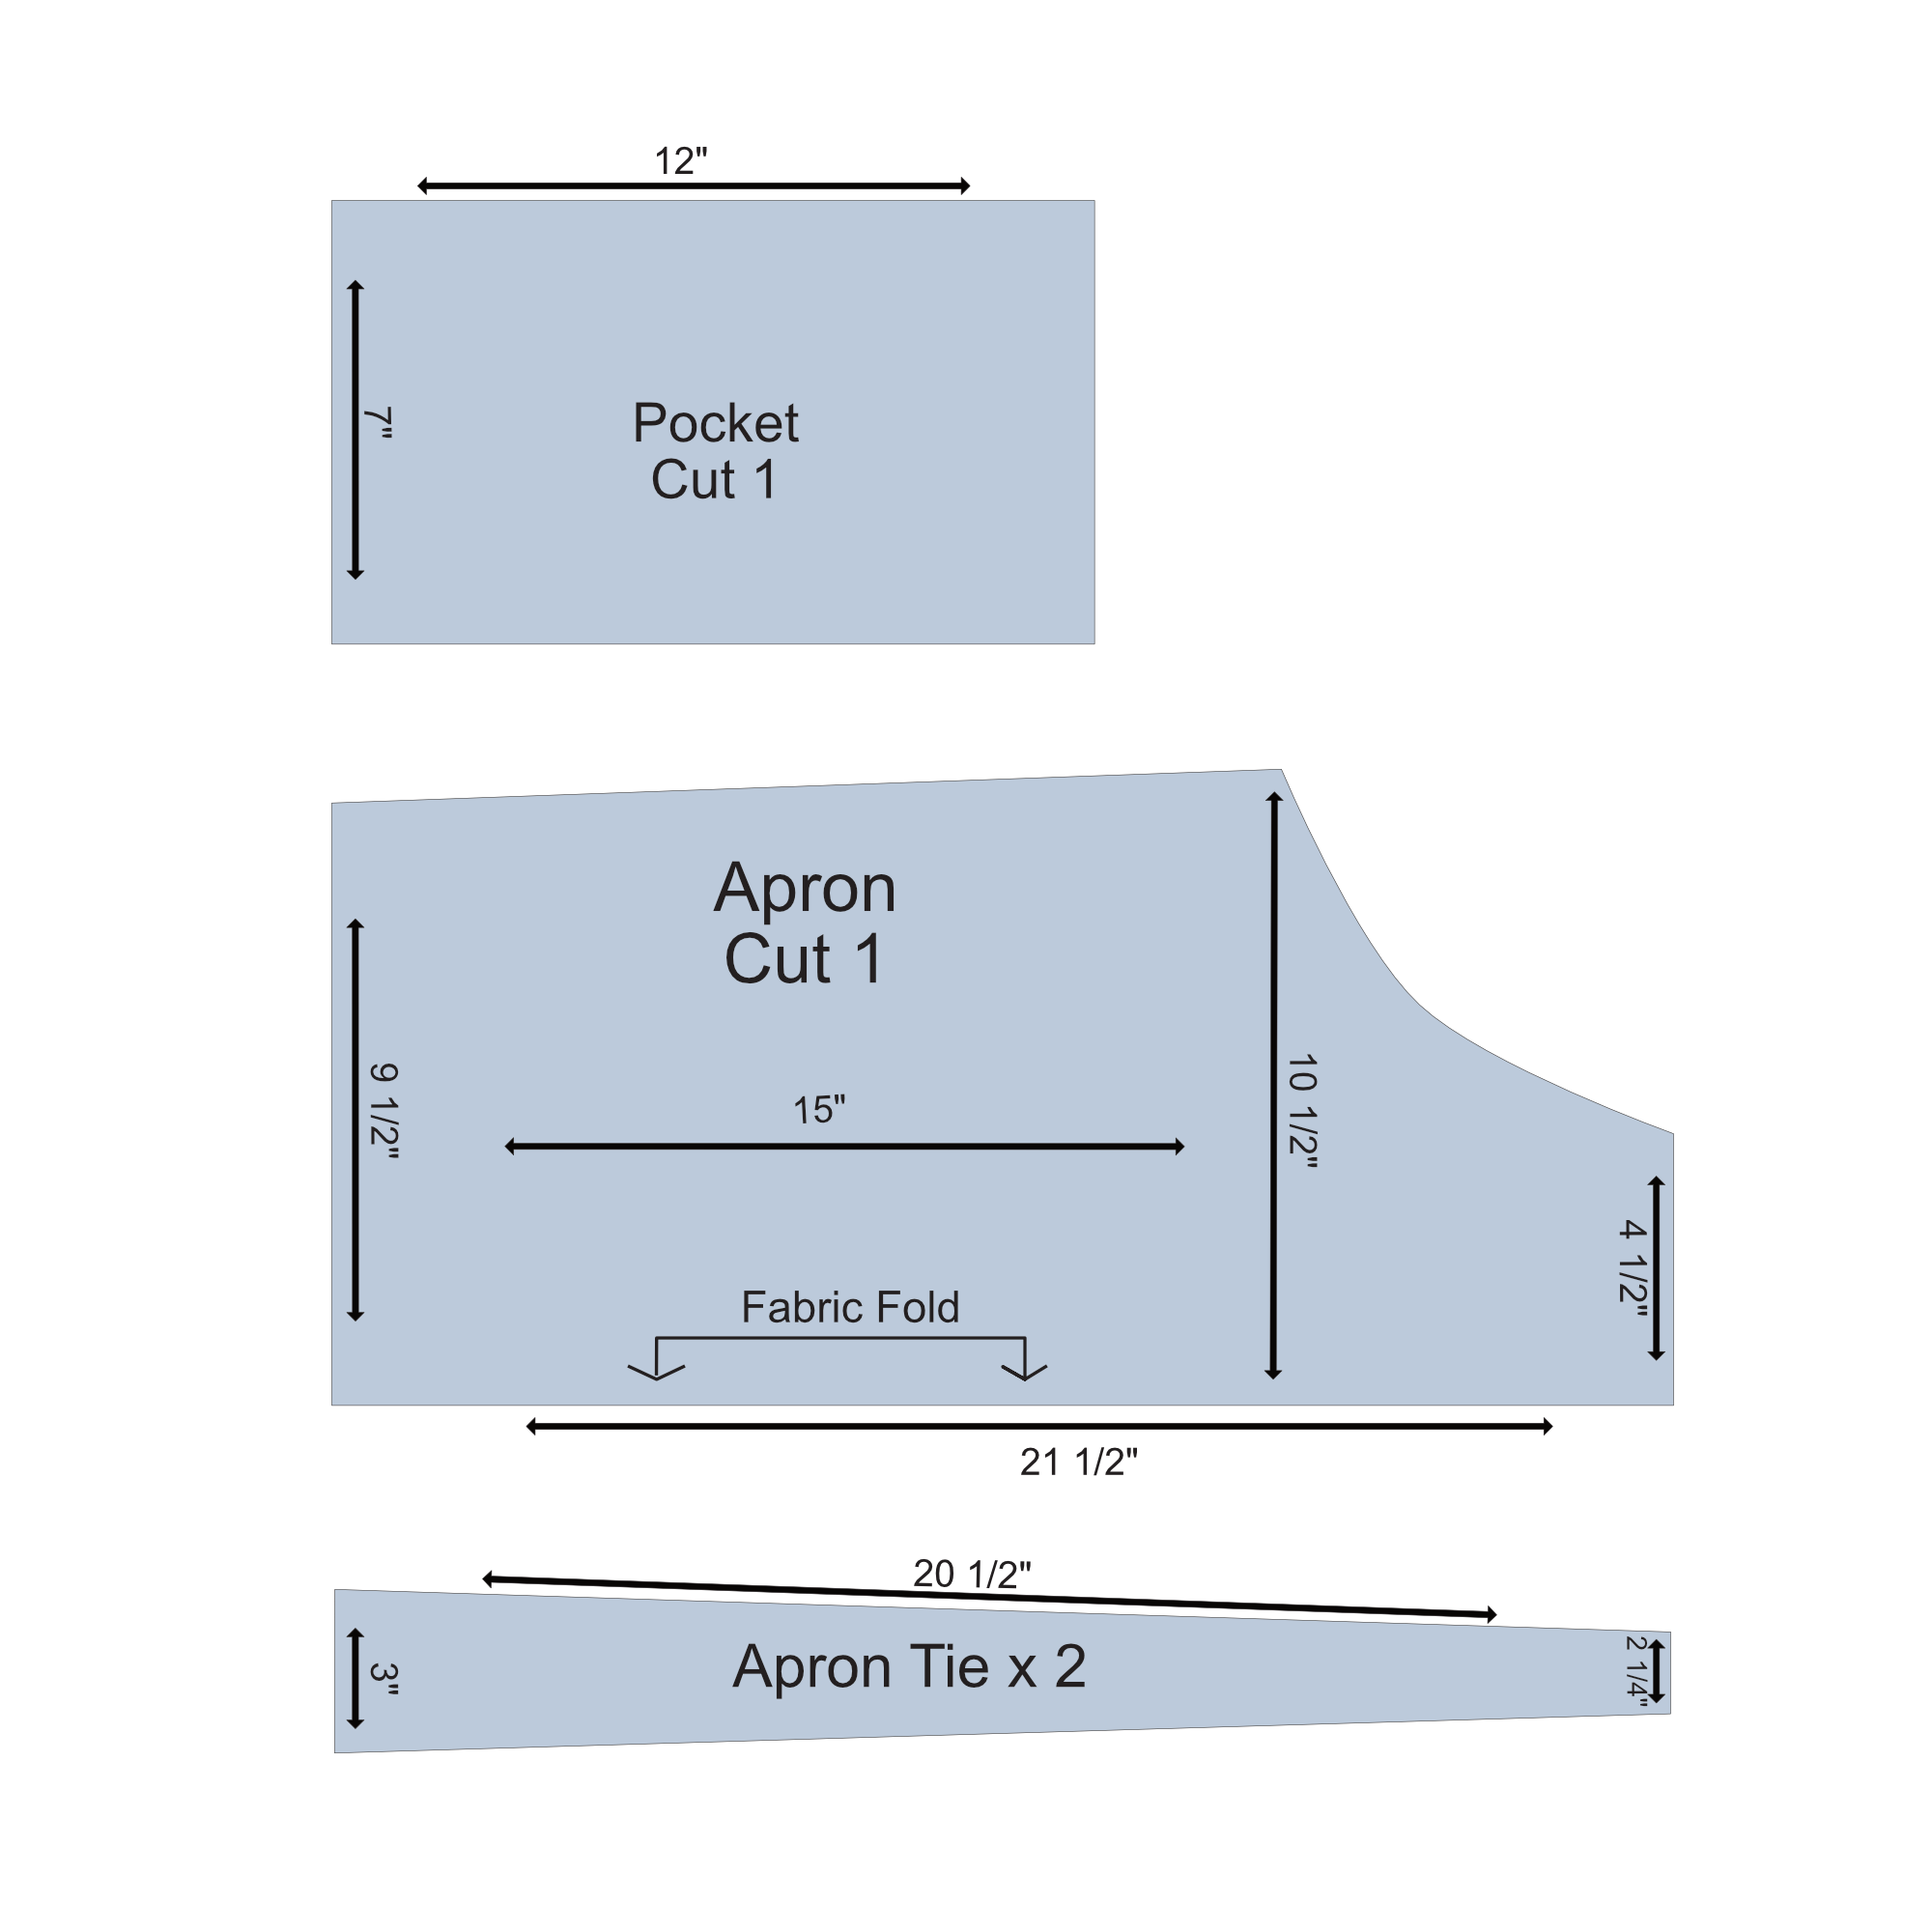

Measurements for the Apron Body:
-
Start with a rectangle: 18” wide x 22” tall
-
Round the top two corners slightly (about 3” curve)
This makes space for arms.
🪡 STEP 2: HEM THE EDGES
-
Fold all edges of the apron body ½ inch inward
-
Fold again another ½ inch
-
Pin in place
-
Sew all around the edges
✨ This keeps fabric from fraying.
🎀 STEP 3: MAKE THE STRAPS
For Each Strap:
-
Fold strip in half lengthwise (right sides together)
-
Sew along the long side
-
Turn inside out
-
Iron flat
-
Topstitch along edges (optional but makes it look professional!)
You will have:
-
2 waist ties
-
1 neck strap
🧵 STEP 4: ATTACH THE STRAPS

-
Attach neck strap to the top corners (inside hem)
-
Attach waist ties to the middle sides
-
Sew a square over each strap to secure
-
Go over twice for extra strength 💪
🎉 FINISHED APRON!
Now your little designer has:
✔️ A cooking apron
✔️ A painting apron
✔️ A fashion studio apron
You can customize it with:
-
Pockets
-
Glitter vinyl hearts
-
Name embroidery
-
Character patches
💡 BONUS: ADD A SIMPLE POCKET (Optional)
Cut:
-
6” x 8” rectangle
Fold top edge twice and sew
Fold other edges inward and stitch onto apron front
Super easy and adorable!